1) Create your new Subscription
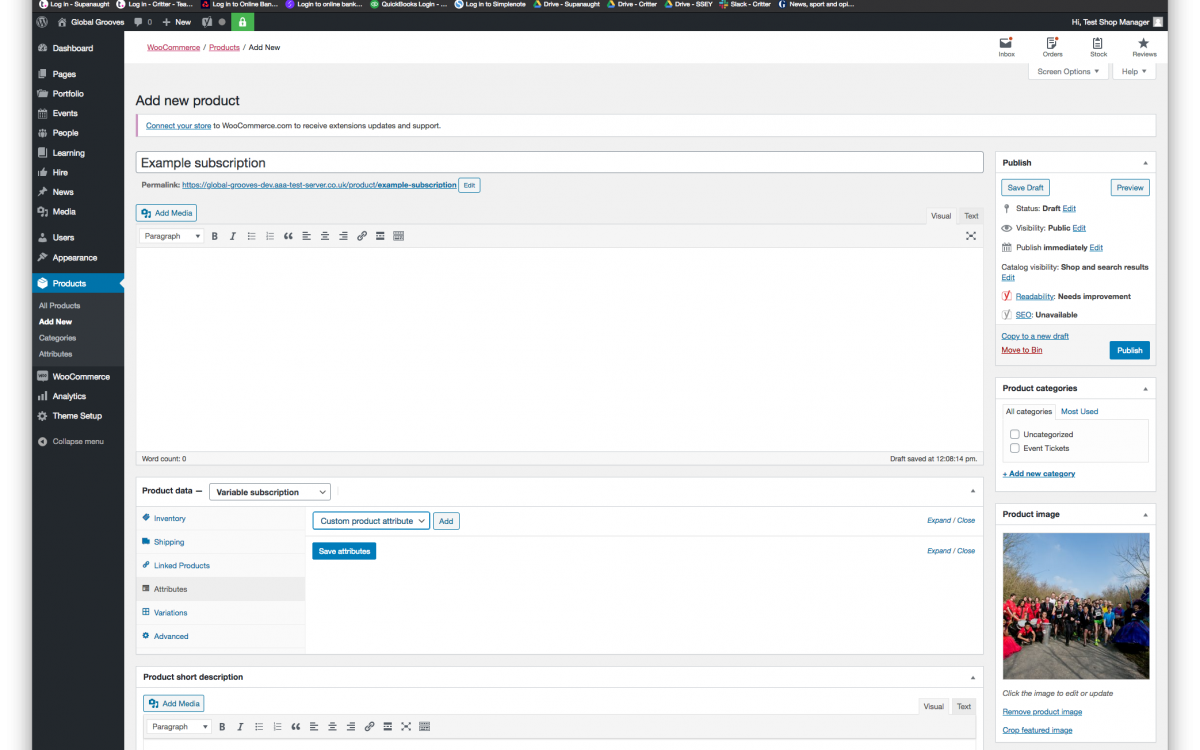
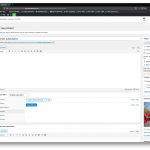
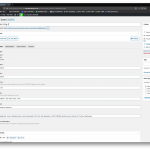
In CMS go to Products > Add New
– Enter a name (ie Example Subscription)
– Add a Product Image (this will be shown in a user’s basket)
– From the Product Type dropdown select ‘Variable Subscription’
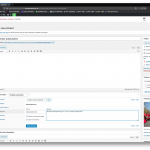
Setup Attributes
– Under the Attributes heading, click Add to add a new Custom product attribute
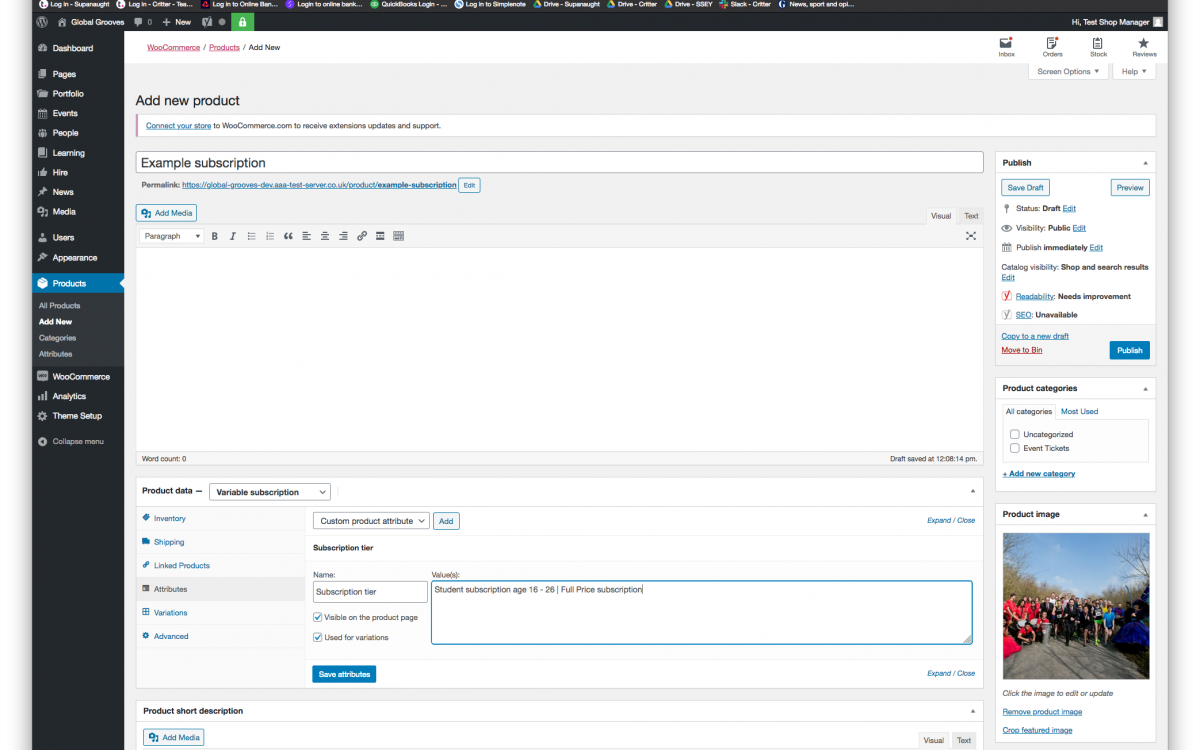
– Enter a name (ie Subscription tier)
– Enter ‘values’ to create the two options separated by a “|” glyph (ie Student subscription age 16 – 26 | Full Price subscription)
– Ensure both ‘Visible on the product page’ and ‘Used for variations’ options are selected
– Click Save Attributes
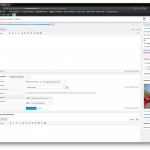
Setup Variations
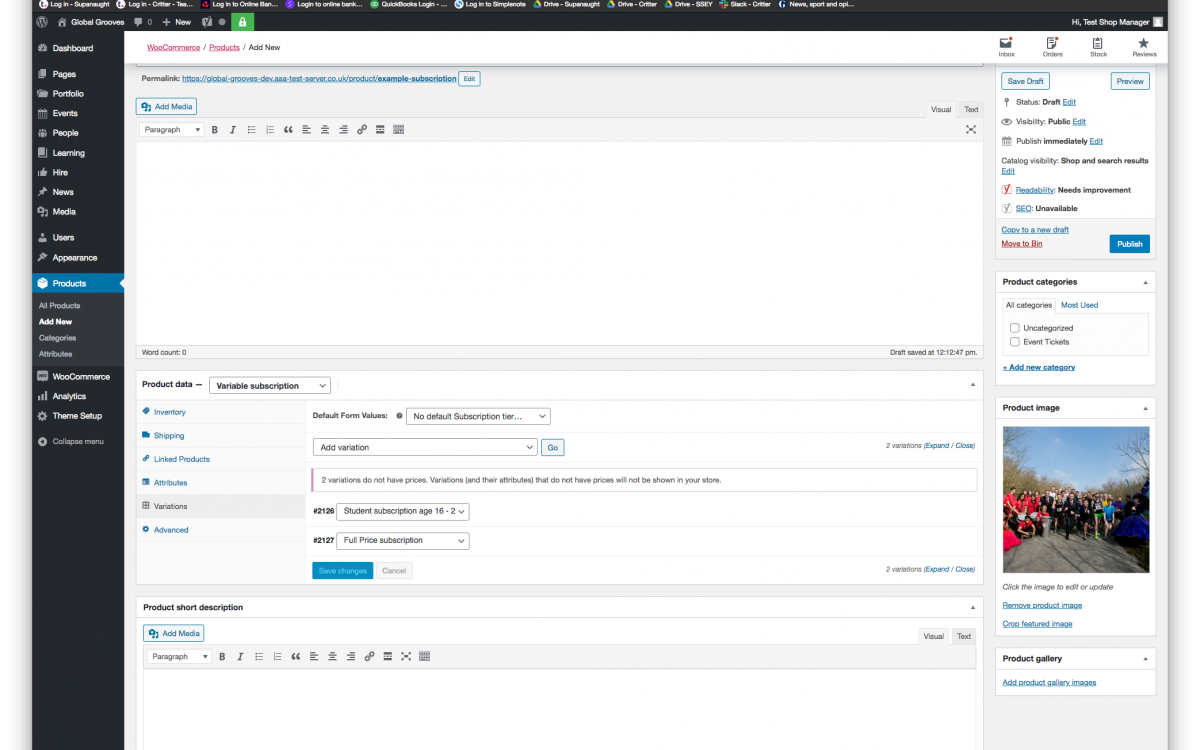
– Under the Variations heading, from the dropdown select ‘Create variations from all attributes’ and click Go
– Click to expand both variations
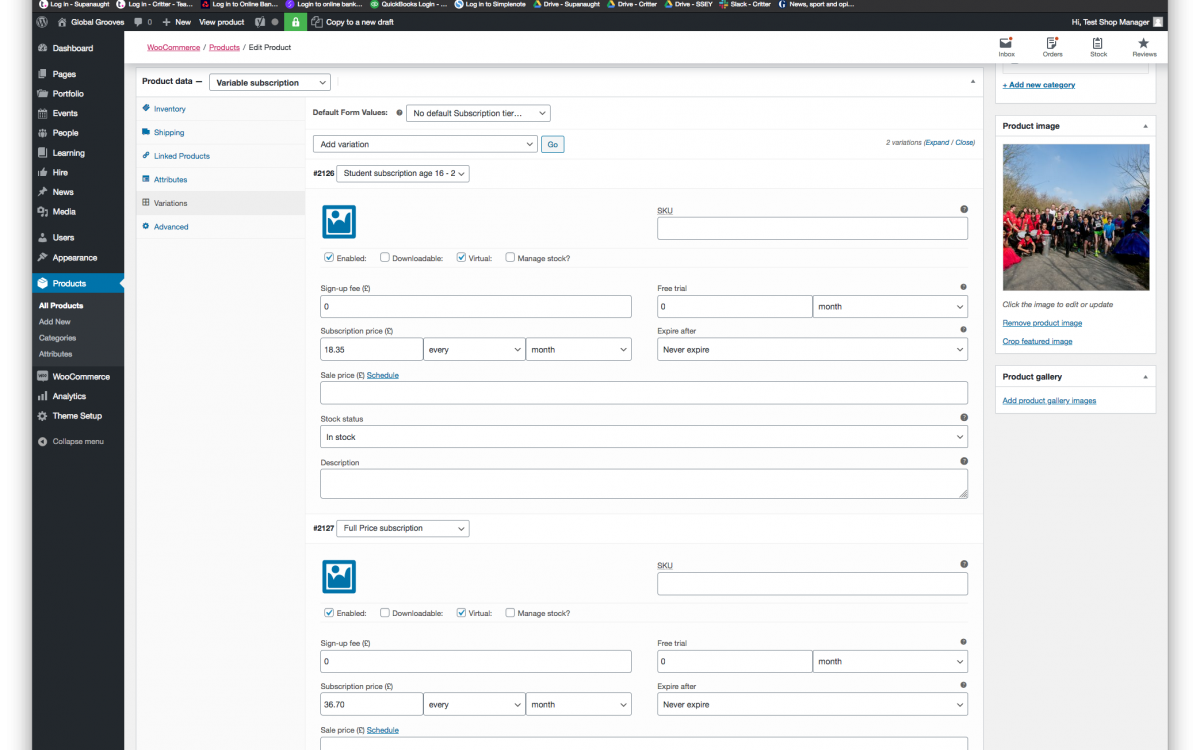
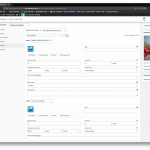
– Ensure both ‘Enabled’ and ‘Virtual’ options are selected
– Enter a subscription price (ie £18.35) and a renewal period (ie ‘every’ + ‘month’)
– From the ‘Expire after’ dropdown ensure that ‘Never expire’ is selected if you want this to be a rolling subscription
– Repeat this for your second product variation and click Save Changes
– Finally scroll back up to the Publish sidebar and click Publish
2) Add you new Subscription to an Event
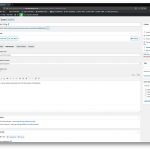
In CMS go to Events > Add New
– Enter new Event details as usual
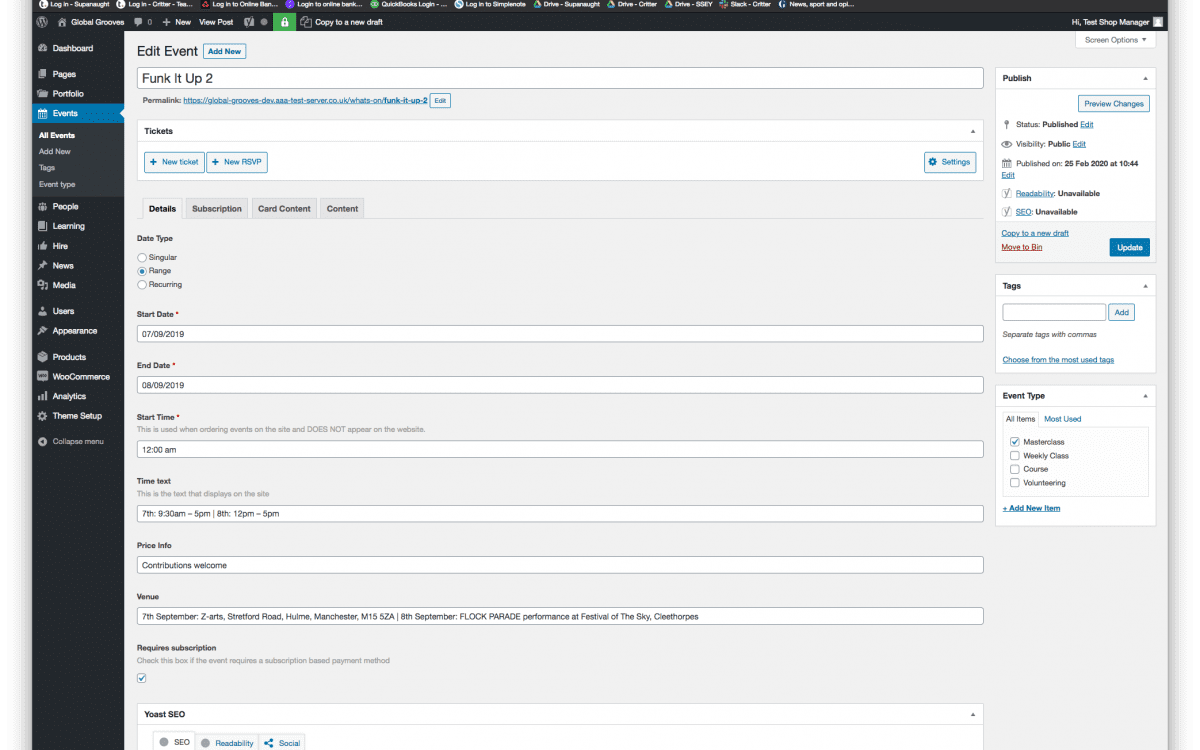
– In the Details tab ensure that the ‘Requires subscription’ option is selected
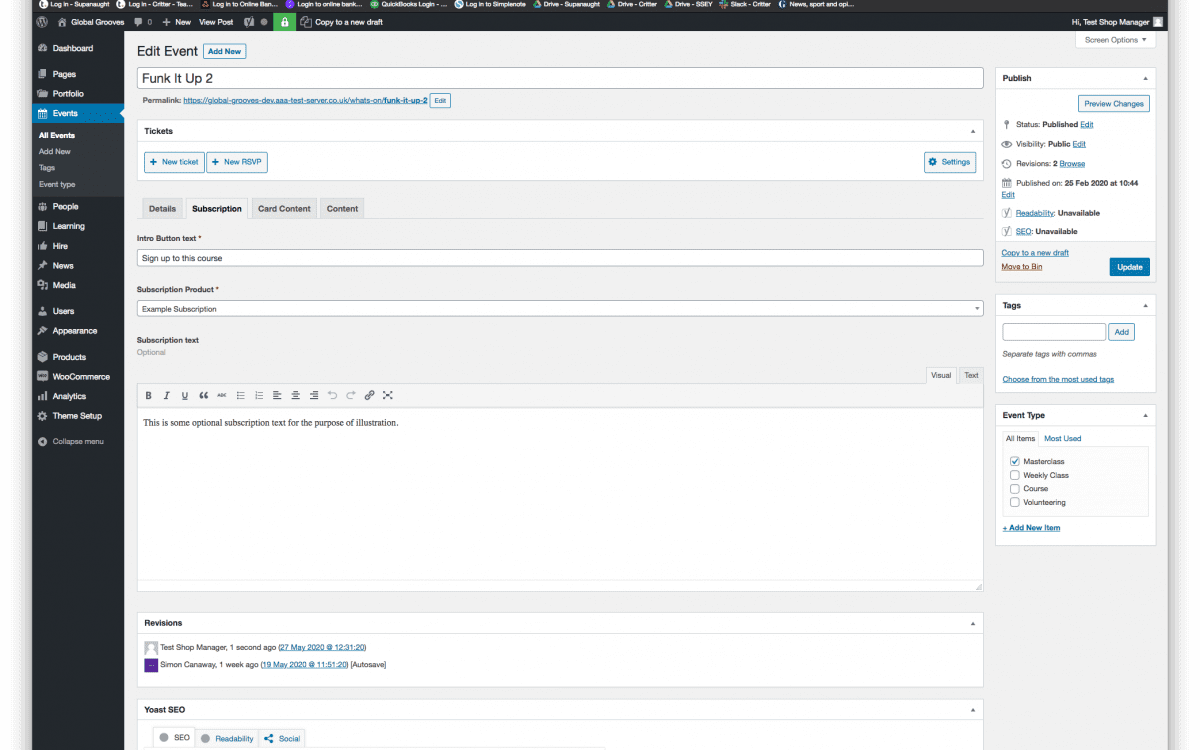
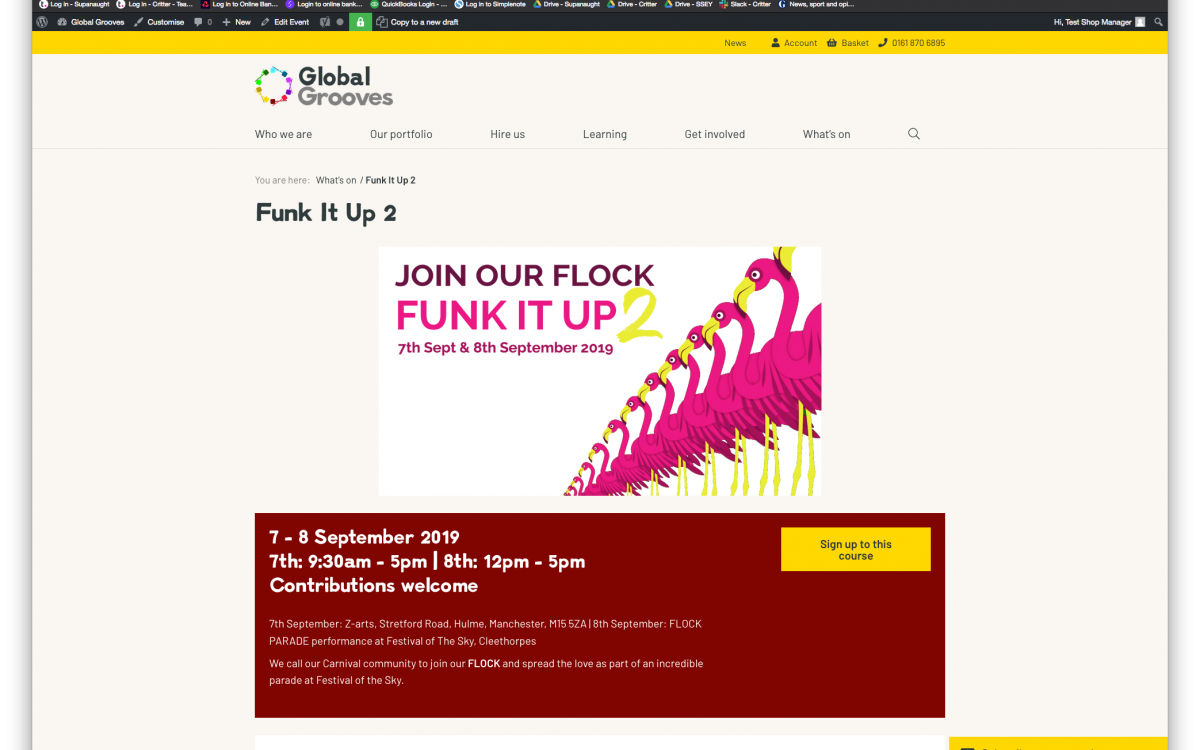
– In the Subscription tab enter Intro Button text (ie Sign up to this course)
– From the Subscription Product dropdown ensure that ‘Example Subscription’ is selected
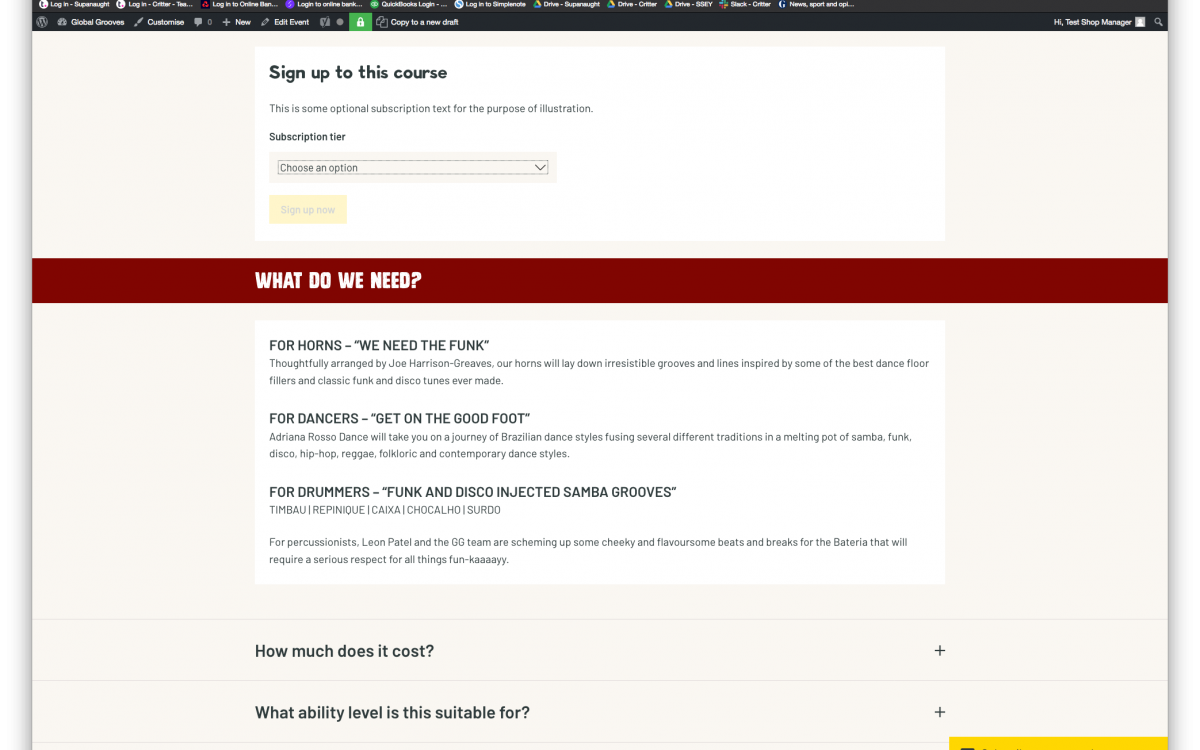
– In the Subscription text field enter some optional copy (this appears above our Subscription selection form on the Event post)
– Finally scroll back up to the Publish sidebar and click Publish / Update
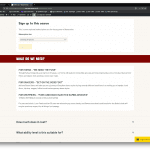
3) Check changes on the front end
– We should now see a new subscription option on our Event post

